
La microfusione di parti di precisione complesse richiede attrezzature di alta qualità in grado di raggiungere tolleranze strette con grande precisione ripetibile. Anche i macchinari e i processi produttivi devono gestire grandi quantità in modo rapido e senza interruzioni, senza compromettere la qualità del prodotto.
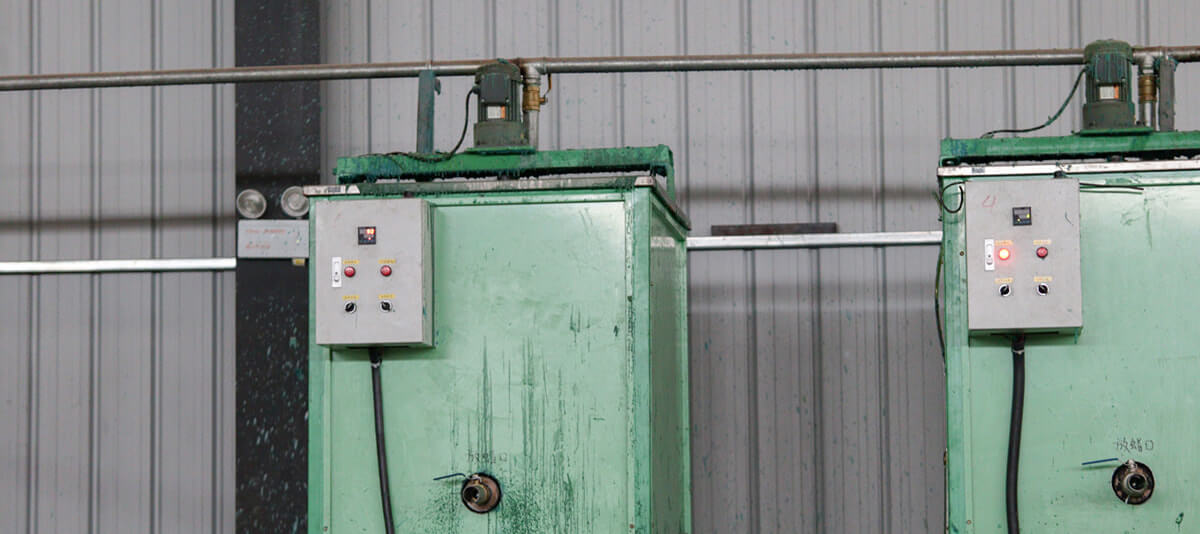
In una tradizionale fonderia di microfusione, molte attrezzature devono essere adeguatamente raffreddate per poter funzionare costantemente con una maggiore efficienza. Tra questi, la maggiore richiesta di apparecchiature di raffreddamento riguarda il processo di produzione dei modelli in cera. Nel contenuto seguente descriveremo brevemente le fasi della realizzazione del modello in cera e la scelta dell'attrezzatura di raffreddamento.
Che cosa sono gli utensili per stampi in cera?
La cera ha dimostrato di essere un materiale molto efficace per la realizzazione rapida di modelli (sia metodi CAD che di stampa 3D) per rappresentare la forma e la geometria della parte finale.
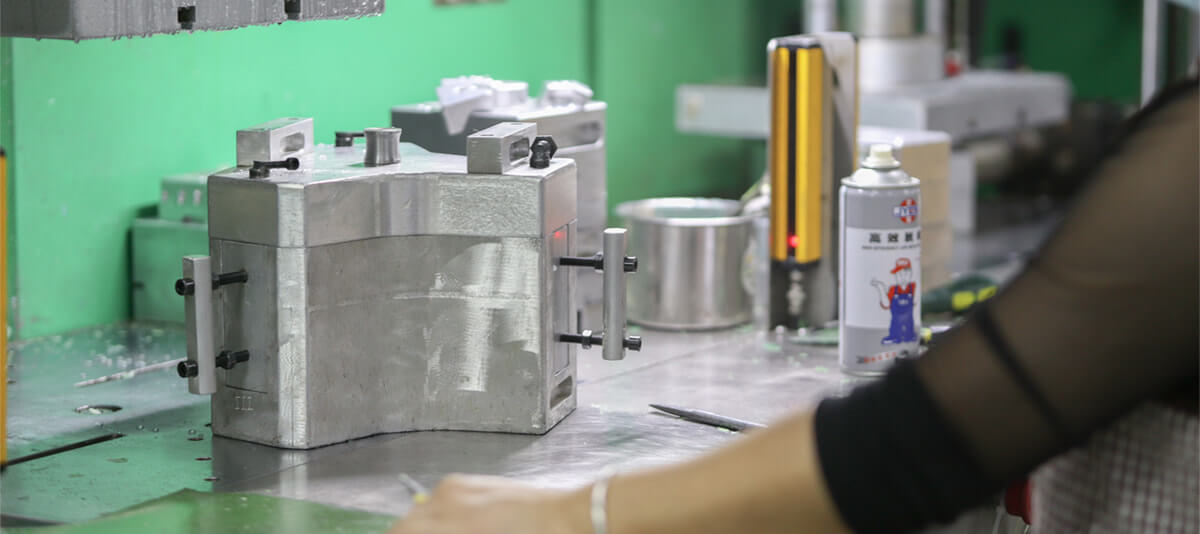
Utilizzando uno strumento per l'iniezione della cera, la forma della cera viene utilizzata per formare uno stampo in ceramica. Quando si rimuove la cera si forma una cavità; questa cavità può successivamente essere riempita con metallo o altri materiali per formare la parte. Ci sono diverse fasi nel processo di preparazione della cera.
Condizionamento della cera
I pellet di cera vengono sciolti in un serbatoio prima che la cera liquida venga iniettata nella cavità dello stampo. L'agitazione aiuta a fornire consistenza quando si mescola la cera nel serbatoio di contenimento. La cavità iniettata è più grande della dimensione del prodotto finale per tenere conto del ritiro del materiale in cera e del metallo colato. Questo documento from IEEE(Institute of Electrical and Electronics Engineers) helps to calculate linear shrinkage using several variables and provides additional insight for creating wax injection tools.
Realizzazione di modelli
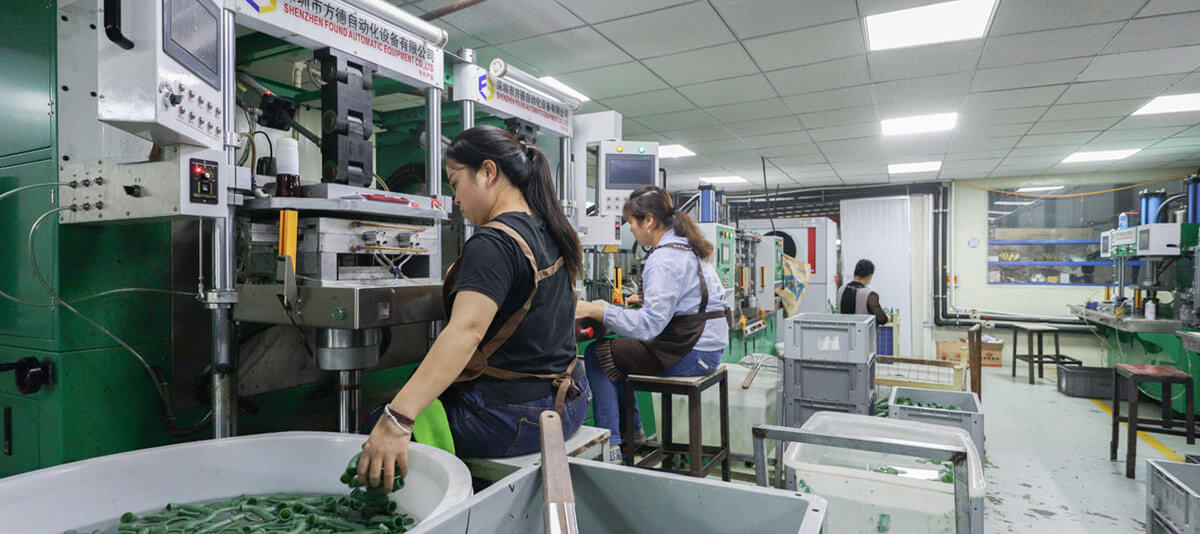
Le macchine per fusione sotto vuoto possono essere utilizzate per creare modelli in cera. Tuttavia, durante il processo di stampaggio a iniezione, la cera liquida viene solitamente spostata idraulicamente dal serbatoio al cilindro di iniezione. Lo strumento viene quindi chiuso. Successivamente, un tubo riscaldato spinge la cera nello strumento di iniezione. Riempie la cavità e si solidifica formando un modello di microfusione, che viene rimosso una volta aperto lo stampo a iniezione e posizionato su un pallet. È importante monitorare la temperatura e la pressione del sistema durante questo processo.
Raffreddamento della cera
La cera deve essere accuratamente rimossa dalla cavità. Successivamente deve essere raffreddato per mantenere la sua forma. Inizialmente il modello in cera è molto morbido e deve essere sostenuto uniformemente. È possibile utilizzare un dispositivo di raffreddamento con gli stessi dettagli dello strumento di iniezione dell'alluminio. A volte, gli ingegneri possono utilizzare distanziatori per evitare che la cera si deformi mentre si raffredda, ottenendo uno strumento di fusione a cera persa di qualità superiore.
Assemblaggio del modello in cera
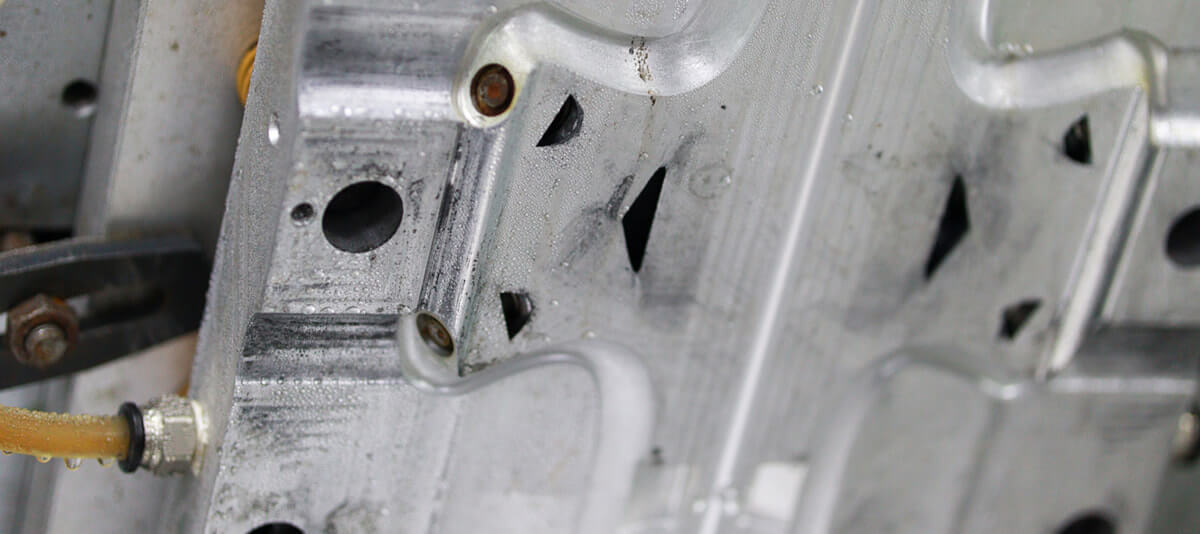
Ogni modello in cera viene assemblato su un canale in cera, che viene successivamente utilizzato per alimentare il metallo nella fusione in ceramica. C'è una vite nella guida, che viene utilizzata per fissare una maniglia per il successivo processo di fabbricazione del guscio. When the wax is removed from the shell later, the ceramic cups will lock the ceramic mold and funnel the metal as it is poured in. The tool plate and frame assembly are modular so the material can be reused to produce more tools.
La scelta del refrigeratore per il processo di iniezione della cera
Se si riempie e si raffredda lo stampo troppo rapidamente, la qualità del prodotto può essere gravemente compromessa. Se si riempie e si raffredda troppo lentamente, i costi di produzione aumenteranno. La chiave qui è massimizzare la produttività: un refrigeratore per lo stampaggio a iniezione appropriato è vitale.
Infatti, possiamo considerare uno stampo come uno scambiatore di calore, in cui il calore viene trasferito dalla plastica fusa allo stampo, quindi trasferito a un mezzo di raffreddamento (acqua refrigerata) che circola costantemente, con solo una piccola percentuale che entra nell'aria e nel piastra della macchina per lo stampaggio ad iniezione.
Come tutti sappiamo, una parte significativa del ciclo di stampaggio della plastica è dedicata al raffreddamento, a volte rappresentando oltre l'80% del ciclo di stampaggio della plastica, quindi è assolutamente necessario mantenere il tempo di raffreddamento al minimo.
Formula semplice
UN. In generale, ogni 6 once di volume di iniezione richiede un refrigeratore da 1 HP, ad esempio:
- 100 T (5,5 OZ) × 3 unità
- 150T (12OZS) × 4 unità
- 200T (23OZS) × 3 unità
La dimensione del refrigeratore richiesta è (5,5 × 3 + 12 × 4 + 23 × 3 )/6=22,25, ovvero è necessario un refrigeratore da 25 HP. Se utilizzato per il raffreddamento di altre apparecchiature, determinare a seconda del flusso specifico del ciclo dell'acqua di raffreddamento.
B. Oppure ogni capacità di 50 tonnellate della macchina per lo stampaggio a iniezione richiede una capacità di raffreddamento di 1 HP (2,5-3 kW).